How to Butt Weld HDPE Pipe: A Step-by-Step Guide
Quick Answer
HDPE butt welding, also known as butt fusion, joins two pipe ends by facing them square, heating them with a controlled heating plate, and then pressing the softened ends together under the correct pressure.
A reliable fusion joint depends on more than temperature and heating time. Pipe alignment, clean fusion surfaces, drag pressure, heat soak, changeover time, fusion pressure, and cooling all play an important part. The actual parameters should always be selected according to the pipe size, wall thickness, SDR, material, and the welding procedure being followed.
What Is HDPE Butt Fusion?
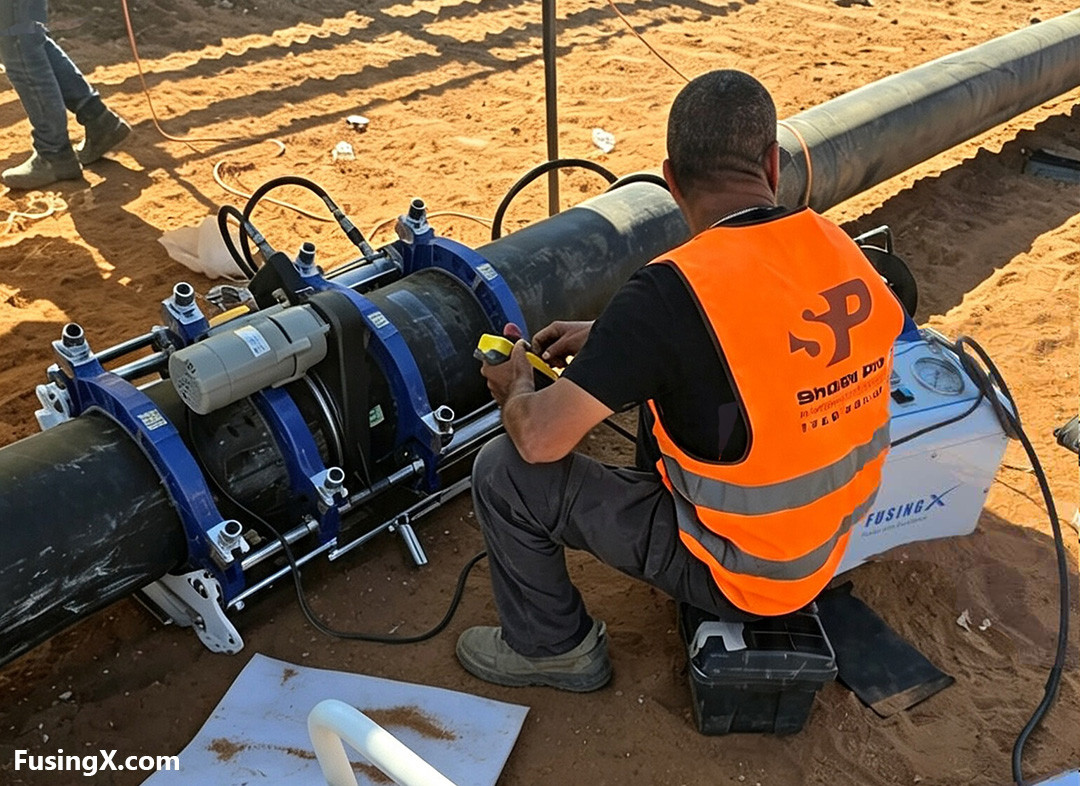
HDPE butt fusion is a pipe joining method that does not require glue, filler material, or a separate mechanical connector.
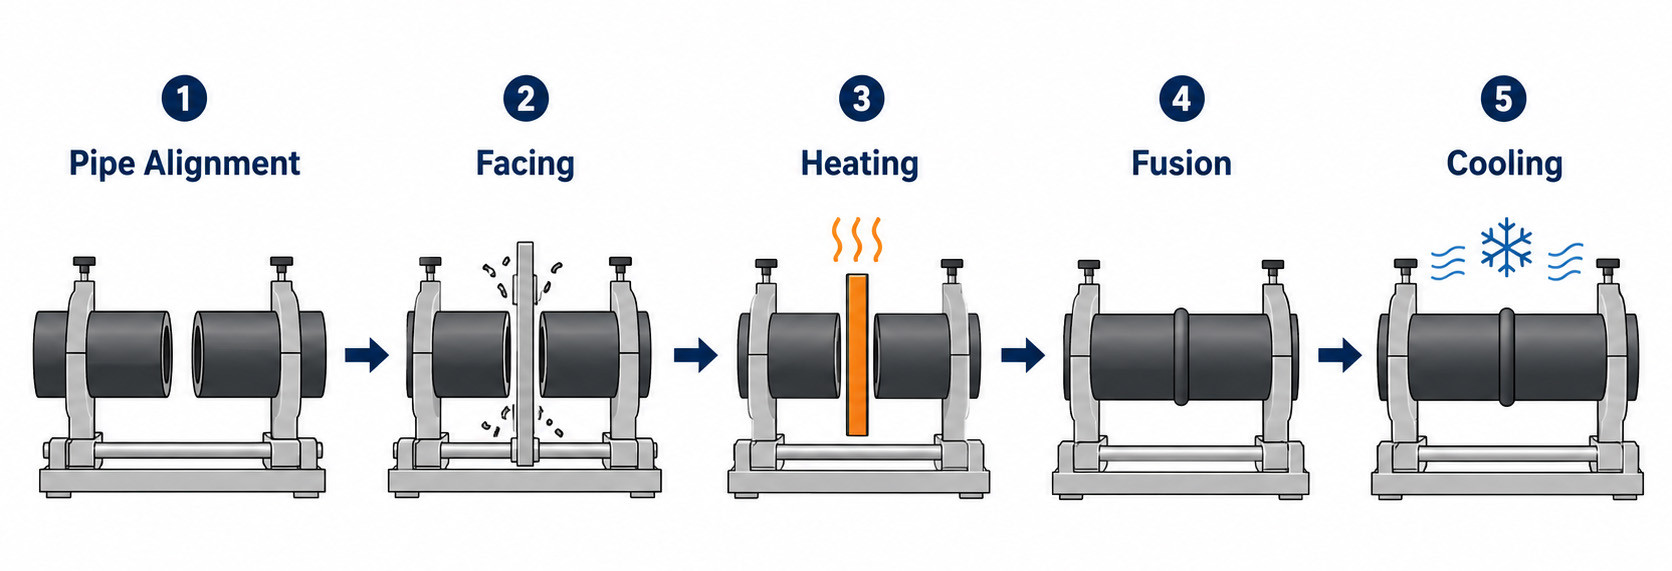
The two pipe ends are first machined flat and square. A heated plate is then placed between them until the fusion surfaces reach the required condition. The heater is removed, and the softened pipe ends are brought together under controlled pressure.
When temperature, pressure, and timing are properly controlled, the molten polyethylene from both sides fuses together. After cooling, the joint becomes a continuous connection between the two pipe sections.
The process may look simple, but butt fusion is more than just heating two pipe ends and pushing them together. The quality of the finished joint depends heavily on how well each stage is prepared and controlled.
What Equipment Is Needed for HDPE Butt Fusion?
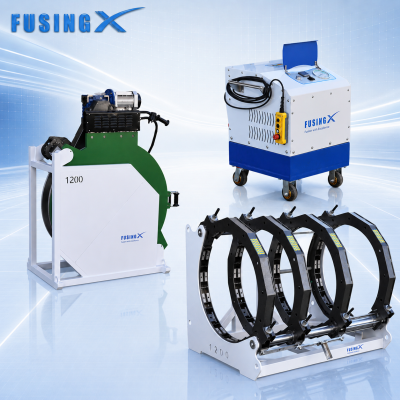
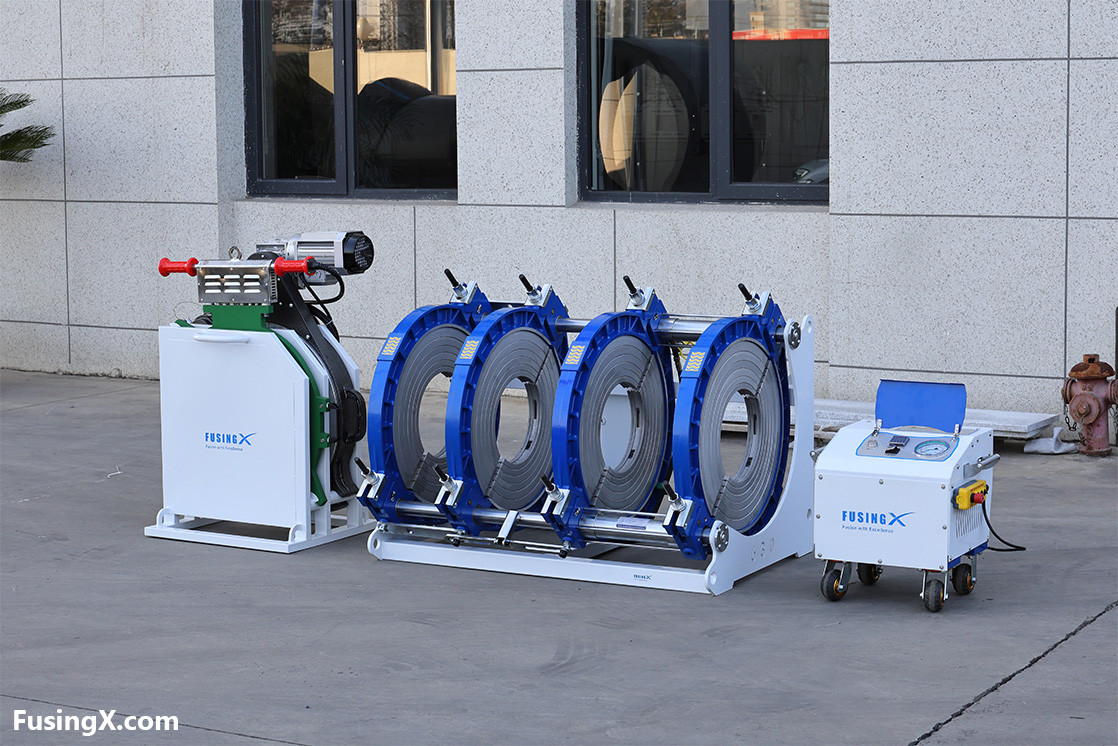
A typical hydraulic butt fusion setup includes:
· Butt fusion machine frame
· Hydraulic power unit
· Facer
· Heating plate
· Correct-size inserts or reduction clamps
· Pipe supports or rollers
· Cleaning materials
· Temperature-checking equipment when required
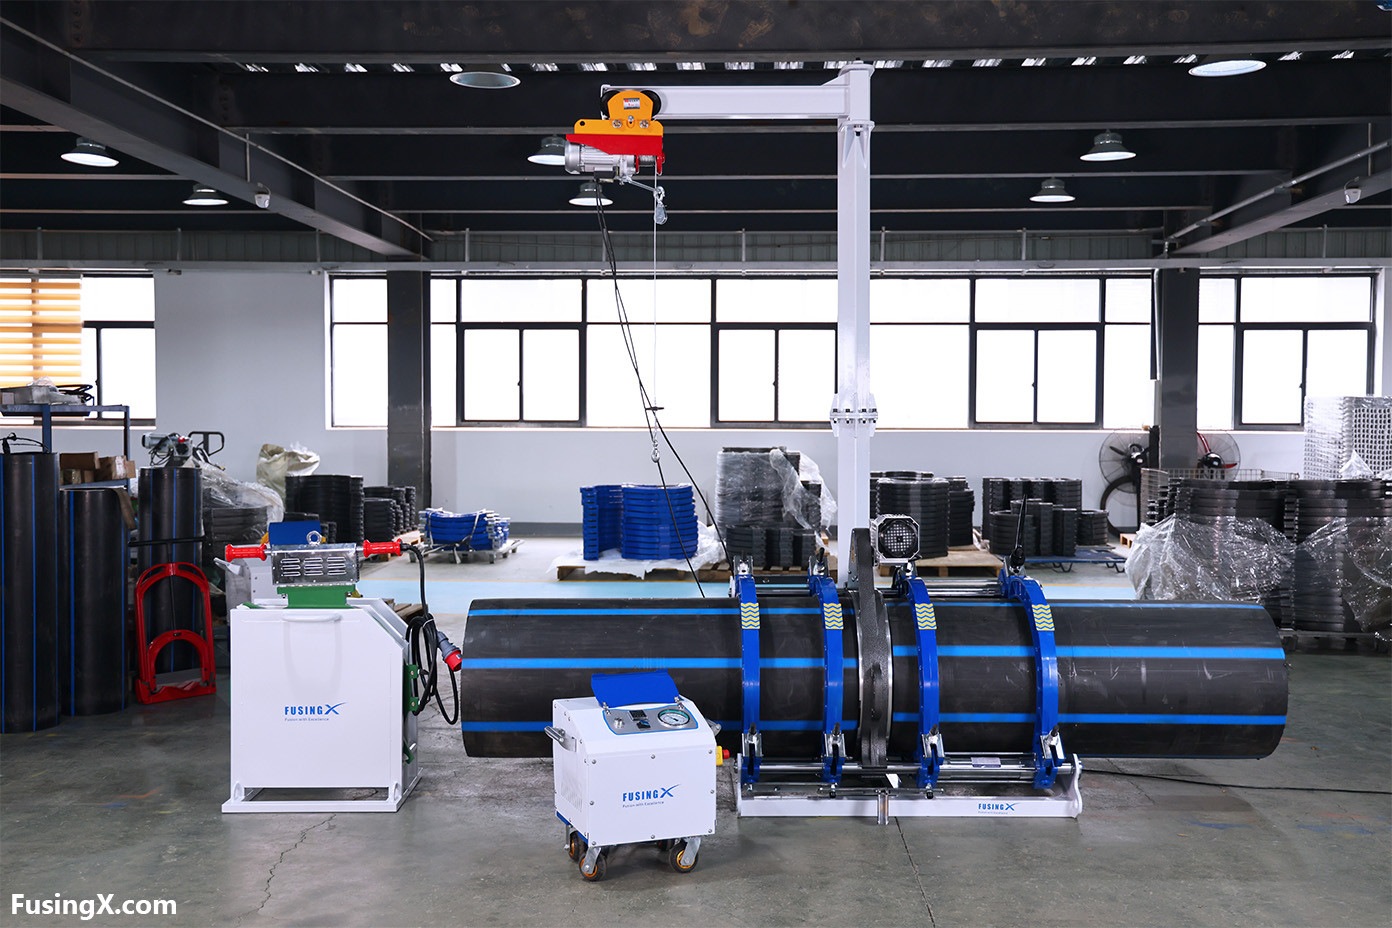
For larger pipe sizes, proper pipe support becomes especially important. The machine should not be expected to carry or drag the full weight of long pipe sections.
Poor support can increase drag pressure and make pipe alignment more difficult.
The operation shown in this guide can be demonstrated with a FusingX FX500 or FX630. However, the basic welding sequence applies to most conventional hydraulic HDPE butt fusion machines.
HDPE Butt Welding: Step-by-Step
Step 1 — Load and Secure the Pipes
Place the two HDPE pipes into the machine and install the correct inserts for the pipe diameter.
For large-diameter pipe, use suitable pipe stands, rollers, or other supports to keep both sides as level as possible.
Pipe support matters more than many operators realize.
If a long PE pipe is dragging directly on the ground, the hydraulic system must overcome not only the resistance of the moving carriage, but also the additional friction created by the pipe itself. This increases drag pressure and may affect both alignment and later pressure settings.
Before moving to the next step, check that:
· The pipes are supported at approximately the same center height.
· Enough pipe extends into the machine for proper facing.
· The pipes are firmly clamped.
· The machine frame is not carrying unnecessary pipe weight.
Step 2 — Face the Pipe Ends
Place the facer between the two pipe ends and start the facing operation.
Move the pipe ends slowly into contact with the facer.
The purpose of facing is not simply to remove some material. It is to produce two clean, flat, and parallel fusion surfaces.
Continue facing until both pipe ends produce continuous and even shavings.
Once facing is complete:
1.Separate the pipe ends.
2.Stop the facer.
3.Remove the facer from the machine.
4.Clear away loose PE shavings around the joint area.
After facing, the prepared surfaces should be kept as clean as possible.
Avoid touching the fusion faces directly with your hands. Oil, dust, sweat, or other contamination can be transferred onto the prepared surfaces and affect the joint.
Step 3 — Check Pipe Alignment
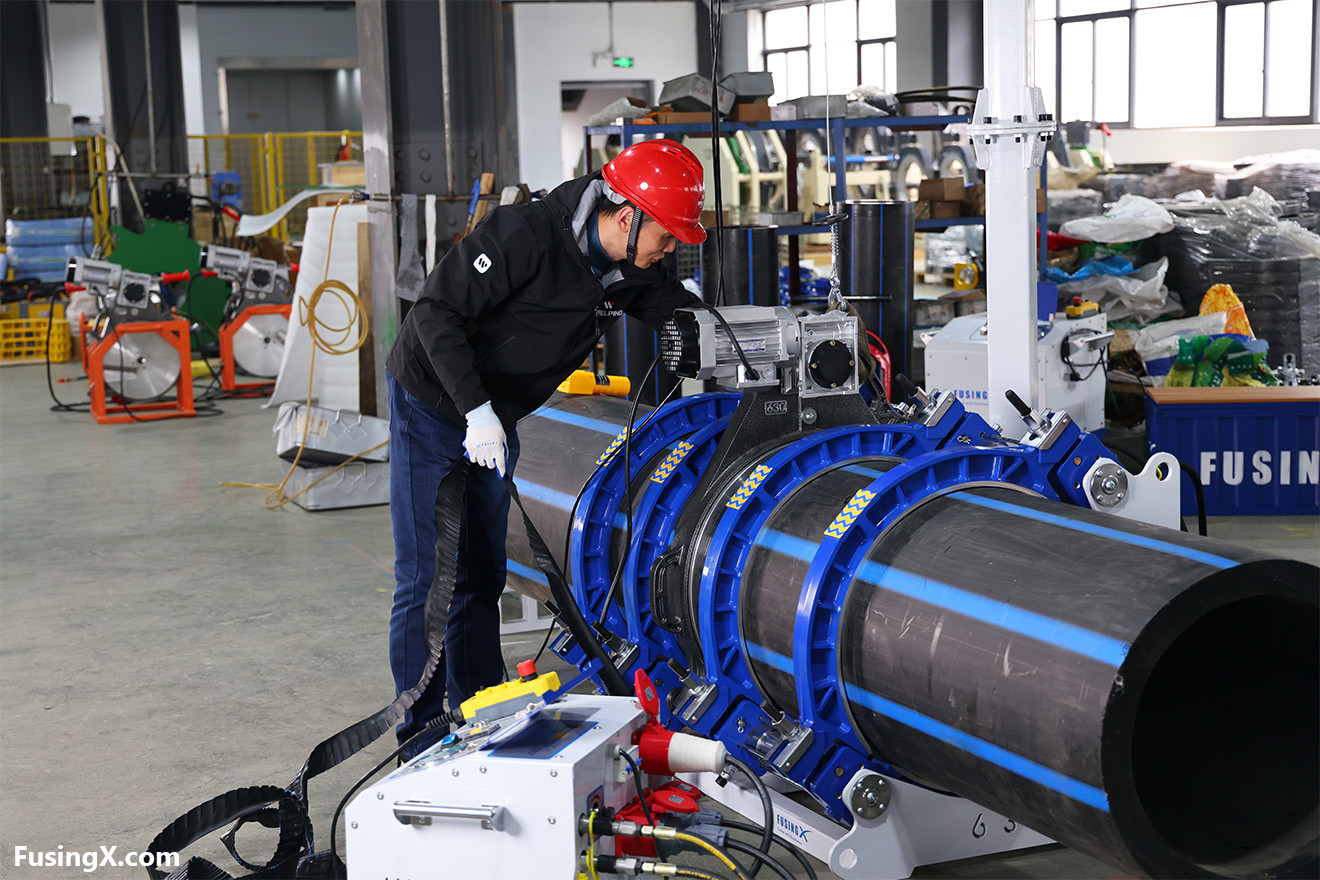
After removing the facer, slowly bring the two prepared pipe ends together.
Check whether the ends meet evenly and whether there is any obvious high-low misalignment.
Operators often run a hand around the outside of the closed pipe ends to feel whether one side sits noticeably higher than the other.
If the pipes are badly misaligned after facing, do not try to correct the problem simply by increasing fusion pressure.
Instead, check:
· Pipe position inside the clamps
· Reduction inserts
· Pipe support height
· Pipe bending or external load
If a major adjustment is needed, the pipe ends may need to be faced again before welding continues.
Step 4 — Measure and Record Drag Pressure
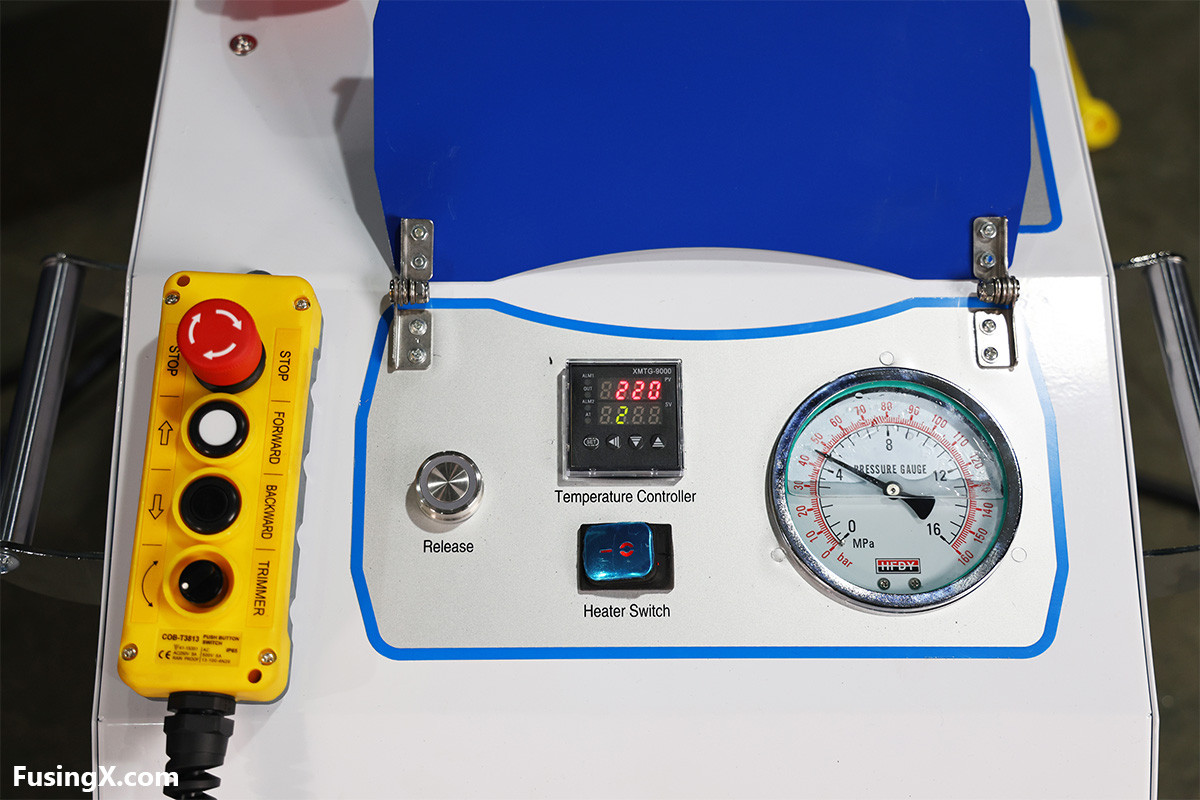
Before starting the heating cycle, determine the drag pressure.
Drag pressure is the hydraulic pressure required to just begin moving the movable carriage together with the connected pipe.
This resistance can come from several sources:
· The moving section of the machine
· Pipe weight
· Friction between the pipe and the ground
· Pipe rollers or supports
· Site conditions
For this reason, drag pressure is not always the same, even when the same fusion machine is used.
In many hydraulic butt fusion procedures, drag pressure has to be taken into account when setting the machine pressure.
A simple way to understand it is:
Required machine pressure = calculated fusion pressure + measured drag pressure
Measuring drag pressure before the weld helps ensure that the pressure actually reaching the pipe ends is closer to the intended fusion pressure.
Step 5 — Insert the Heating Plate
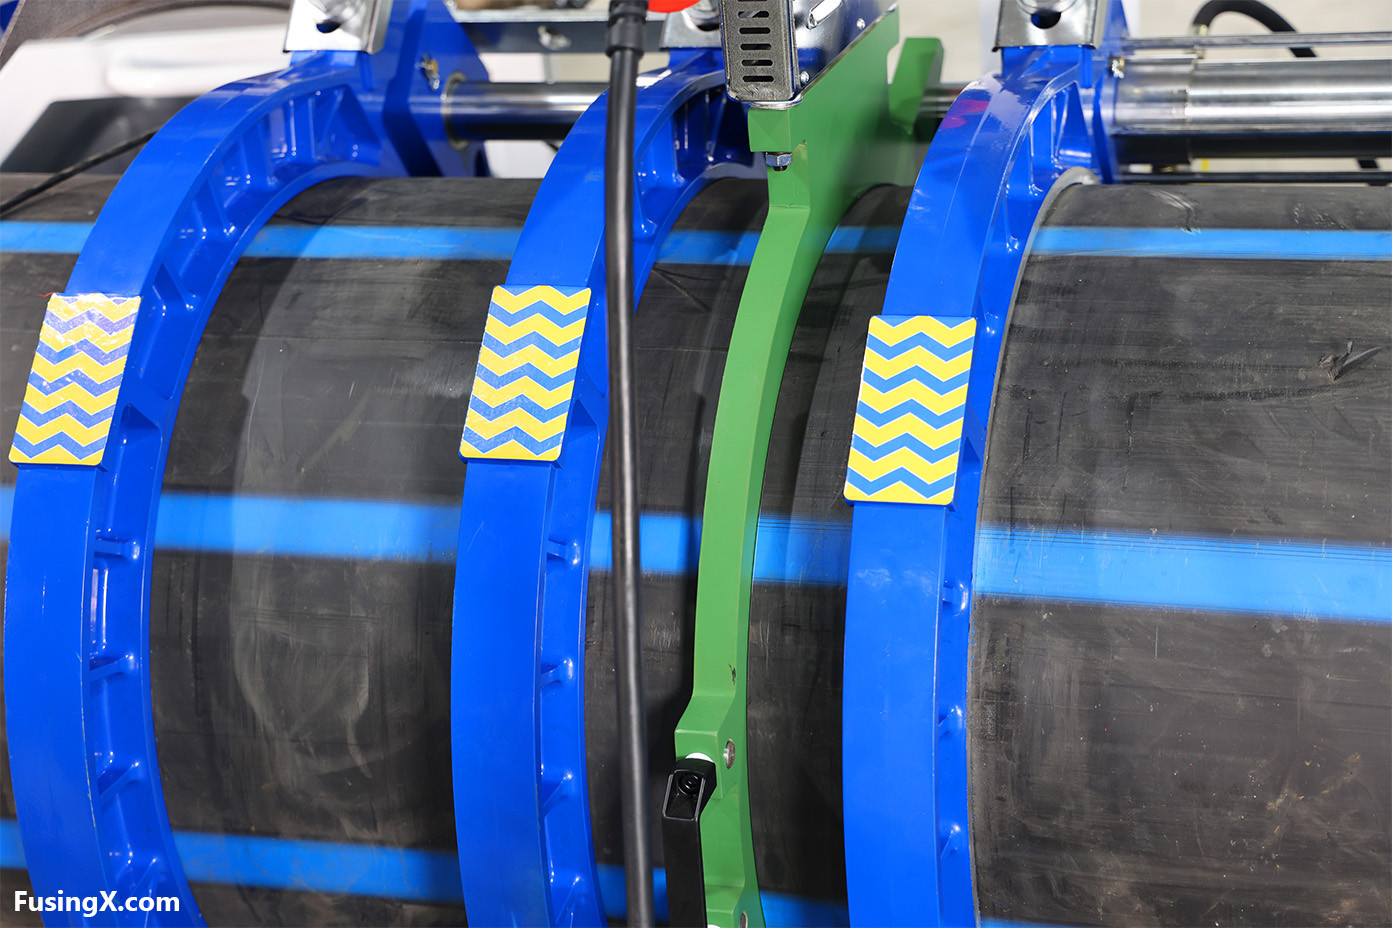
Once alignment and pressure checks are complete, place the heating plate between the pipe ends.
Bring both pipe ends into contact with the heater.
The correct heating-plate temperature should not be treated as one universal number for every HDPE pipe.
The required temperature depends on factors such as:
· PE material
· Pipe diameter
· Wall thickness
· SDR
· Pipe manufacturer's recommendations
· Welding standard
· Approved project procedure
Before welding, also check that the heater surface is:
· Clean
· Free from visible contamination
· In good condition
· Free from excessive PE residue
· Covered by an undamaged working surface or PTFE coating, where applicable
Step 6 — Form the Initial Bead
Apply the specified pressure so that both pipe ends make full contact with the heating plate.
As the polyethylene begins to soften, a small bead will form around each pipe end.
This is often referred to as the bead-up stage.
The initial bead helps confirm that the full circumference of the pipe is properly contacting the heater.
This stage should not be controlled by time alone.
Depending on the welding procedure being used, the operator may need to observe a specified bead size or follow another defined condition before moving into the soaking stage.
Step 7 — Heat Soak the Pipe Ends
Once the required initial bead has formed, the weld enters the heat-soak stage.
The purpose of heat soaking is not to continue forcing large amounts of molten PE outward. It is to allow heat to penetrate into the pipe wall and develop the correct thermal condition across the fusion zone.
For this reason, the pressure against the heating plate is normally reduced during the soaking stage according to the welding procedure.
If excessive pressure is maintained during soaking, softened material may be pushed away from the fusion zone, which can affect the final joint.
The required soaking time varies with pipe size and wall thickness and should always follow the approved welding procedure.
Step 8 — Remove the Heater and Join the Pipes
At the end of the soaking period, the operation enters one of the most important parts of the butt fusion cycle: changeover.
First, separate the pipe ends from the heater.
Remove the heating plate quickly and smoothly, then bring the two molten pipe ends together without unnecessary delay.
This interval matters because the pipe surfaces start losing heat as soon as they leave the heating plate.
An excessive changeover time can allow the fusion faces to cool too much before joining.
At the same time, fast operation does not mean the pipe ends should be slammed together.
The correct movement should be:
quick, smooth, and controlled.
The softened ends should come together under the specified fusion pressure, not through impact.
Step 9 — Hold Fusion Pressure and Allow the Joint to Cool
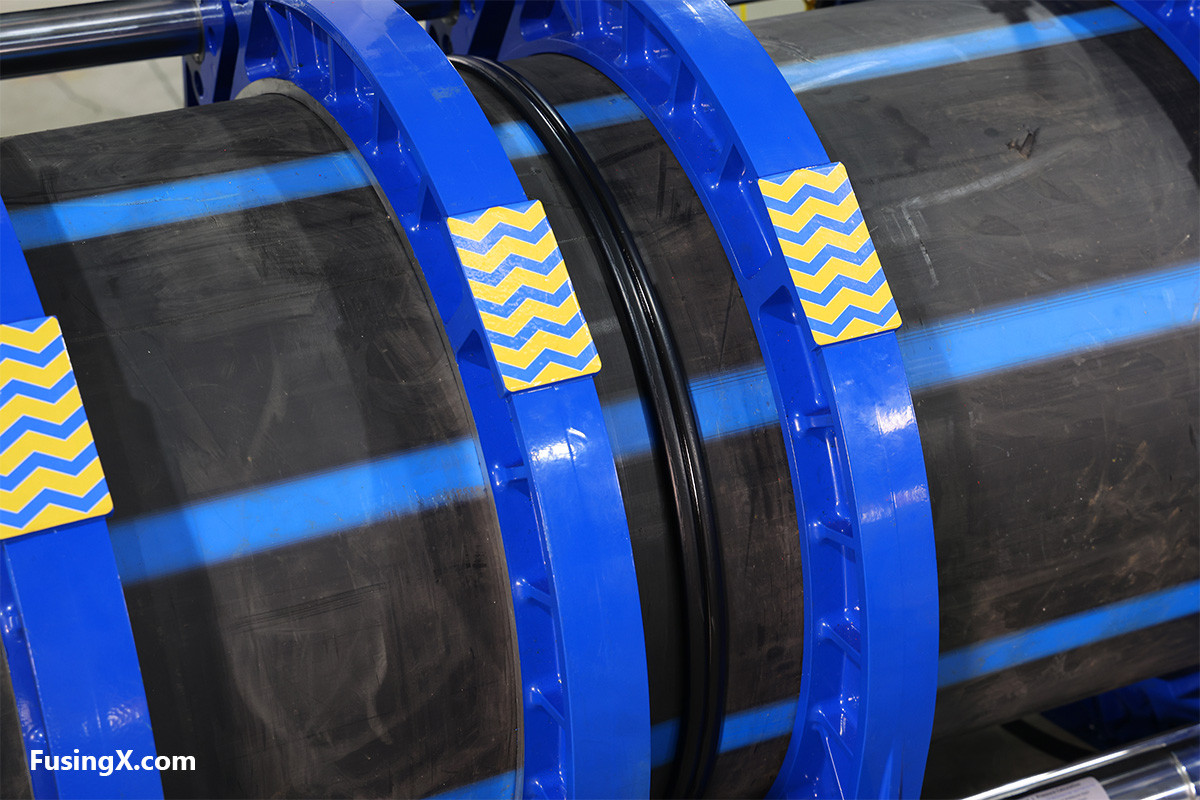
After the two pipe ends are joined, the familiar double fusion bead begins to form around the circumference.
The weld is not finished at this point.
The joint must remain under the specified conditions while it cools and gains sufficient strength.
One common mistake is to see the bead, assume the weld is complete, and release the clamps too early.
The fusion zone is still soft while it is hot. Moving the pipe, releasing the clamps, or applying external load too soon can disturb the joint during cooling.
Only after the required cooling time has been completed should the operator:
1.Release the hydraulic pressure.
2.Open the clamps.
3.Remove the welded pipe from the machine.
What Should a Good HDPE Fusion Bead Look Like?
The external fusion bead is often the first thing an operator checks after the weld is complete.
A properly formed butt fusion joint will normally show:
· A continuous double bead around the full circumference
· Reasonably even bead formation on both sides
· No obvious gaps or interruptions
· No visible contamination
· Good overall pipe alignment
· A generally consistent bead shape around the joint
However, appearance alone does not prove that the internal quality of the joint is acceptable.
A good-looking bead can be useful as an initial visual check, but final weld quality still depends on whether the correct temperature, pressure, timing, surface preparation, and cooling requirements were followed throughout the process.
6 Common HDPE Butt Fusion Mistakes
1. Touching the Pipe Ends After Facing
Freshly faced fusion surfaces should be kept clean.
Touching them by hand may transfer grease, sweat, or dirt onto the welding area.
2. Poor Pipe Support
Long PE pipe dragging on the ground increases resistance and makes alignment more difficult.
For large-diameter work especially, proper rollers or pipe stands can make a noticeable difference.
3. Ignoring Drag Pressure
Using a fixed hydraulic pressure without considering actual drag pressure can result in a difference between the gauge reading and the pressure effectively applied to the pipe ends.
4. Using a Dirty Heating Plate
PE residue, dust, oil, or a damaged heater surface can interfere with both heat transfer and surface cleanliness.
5. Taking Too Long During Changeover
Once the heater is removed, the fusion surfaces begin cooling immediately.
The heater-removal and pipe-joining sequence should therefore be continuous and well organized.
6. Releasing the Clamps Before Cooling Is Complete
The joint needs time to cool and stabilize.
Releasing the clamps too early may place stress on a fusion zone that is still hot and relatively soft.
Watch the Complete HDPE Butt Fusion Process
Written instructions can explain why each stage matters, but butt fusion is also a highly visual process.
The full video below shows the complete welding sequence on a FusingX hydraulic butt fusion machine, including:
pipe loading → facing → alignment → drag pressure → heating → soaking → heater removal → fusion → cooling
Do All HDPE Pipes Use the Same Butt Fusion Parameters?
No.
There is no single combination of temperature, time, and pressure that should be applied to every HDPE pipe.
The correct fusion parameters depend on several factors:
| Factor | Why It Matters |
| Pipe outside diameter | Affects machine selection and fusion area |
| Wall thickness / SDR | Influences heating and cooling time |
| PE material | Different materials may require different procedures |
Welding standard | Parameter systems and procedures may vary |
Machine piston area | Affects hydraulic pressure calculation |
Drag pressure | Must account for actual movement resistance |
Site conditions | Temperature, wind, rain, and other factors may affect welding |
Approved welding procedure | This should remain the final reference for the job |
For actual pipeline construction, operators should therefore follow:
the project specification + pipe manufacturer's requirements + approved welding procedure.
A set of generic parameters found online should never replace the procedure approved for the actual pipe and project.
This is also why a professional butt fusion machine needs to do more than simply generate hydraulic pressure. The operator must be able to control the entire fusion cycle in a stable and repeatable way.
FAQ
What temperature is used to butt weld HDPE pipe?
There is no single heating-plate temperature that should automatically be used for every HDPE pipe.
The correct setting depends on the welding standard, PE material, pipe specification, and approved fusion procedure.
For field work, always follow the procedure specified for the project.
How long does HDPE butt fusion take?
There is no universal welding time.
The full cycle depends on pipe diameter, wall thickness, SDR, heating time, changeover time, cooling time, and the procedure being followed.
Large-diameter and thick-wall pipe generally requires longer heating and cooling periods.
Why is drag pressure important in butt fusion?
The machine must overcome resistance from the moving carriage, pipe weight, friction, pipe supports, and site conditions before meaningful fusion pressure reaches the pipe ends.
Measuring drag pressure helps the operator compensate for this resistance when setting the hydraulic pressure.
Can you touch HDPE pipe ends after facing?
It is best not to.
Once the pipe ends have been properly faced, the fusion surfaces should remain clean.
Touching them can transfer grease, sweat, or dirt onto the prepared surfaces.
How can you tell whether an HDPE butt fusion joint looks good?
A visual check usually starts with the fusion bead.
Look for a continuous and reasonably even double bead, good alignment, and no obvious gaps or contamination.
However, bead appearance should not be treated as the only proof of joint quality.
Can the clamps be released immediately after the bead forms?
No.
The fusion joint still needs to cool under controlled conditions.
Moving the pipe or releasing the clamps before the required cooling period is complete may disturb the joint while the fusion zone is still hot.
Final Thoughts
A good HDPE butt fusion joint is not simply the result of facing the pipe, heating it, and pressing the two ends together.
Reliable fusion comes from controlling the entire process.
The pipes need to be properly aligned and supported. The fusion faces must be clean and square. Drag pressure should be checked. Heating and soaking must follow the approved procedure. Changeover should be quick but controlled, and the joint must remain undisturbed until the required cooling time is complete.
For operators, understanding why each step matters is often more useful than simply memorizing the sequence.
FusingX offers hydraulic butt fusion machines for a wide range of HDPE pipe sizes, from smaller field applications to large-diameter pipeline projects.
Fusion with Excellence.